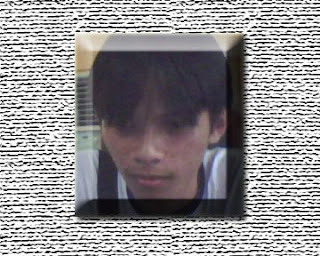
3D Button
Bevel and Emboss

Steps
1. Create empty canvass in desired size to become a button.
2. Using Rectangular Marquee Tool, create smaller rectangular shape inside the canvass.
3. Choose desired color in the Foreground Color.
4. Use Gradient Tool.
5. Use Linear Gradient and pick reverse.
6. Drag from top left corner to the bottom right.
7. Go to select, modify then adjust contract by 6 or any desired.
8. Drag starting from bottom right to upper left to draw gradient.
9. Adjust again contract now to 3 or any smaller than previous contract value.
10. Go to select, then feather by 2.
11. Drag from top left to bottom right.
12. Go to select, then deselect to see final result.
Bevel and Emboss

Steps
1. Open one image.
1. Open one image.
2. Use Rectangular Marquee Tool.
3. Create rectangular selection in your image.
4. Copy the section and put to another canvass.
5. Choose any button style in the Style Palette.
6. Remove overlay effects.
7. Double-click bevel and emboss to adjust desired depth and size.
8. Click Background Layer.
9. Go to Foreground Color and adjust color to Black or any dark colors.
10. Fill the background by using Paint Bucket Tool.
11. Go to Filter and Choose Texturizer in the Texture menu.
12. Adjust scale and relief to desired one.
13. Choose invert.
Superimpose


Steps
1. Open two different images.
2. Using pen tool, create a section from one image to be transferred to another image.
3. In the path tab of Path Palette, choose Load path as a selection.
4. Go to select, the feather. Adjust to 20 or any desired value.
5. Delete the Path in the Path Tab.
6. Then copy the section to the other image.
7. Adjust to desired location.
"Photo or image editing is fun." If we only have the willingness and desire to learn, then we can have and experience something nice.


5 comments:
sundog2! \heheheheheh...
_marco_
www.marcospot.blogspot.com
www.estudyantenghectic.blogspot.com
nice work.^^
agay dilikado na ang akong future ani..... so many people now know using photoshop.......... wahhh
amaw man ka ker oi..hehe.. ^^
btaw ren, lingaw man jd mag.edit ug pix..
I love editing pictures too! :)
This blog is cool..
Post a Comment